
How to DIY a Monochromatic Room
Why You Should Try Tone-on-Tone Decorating for a Chic Monochromatic Aesthetic

The monochromatic trend is having a serious moment in the sun. Fashion girls are applying it to their style, interior decorators are posting it all over Instagram — even food stylists are giving it a go. Luckily, it couldn't be easier to create the look yourself in your home with a few DIY painting projects. All you need to do is choose your coordinating color palette from Sherwin-Williams, pick out the wall you want to paint, grab a few simple pieces of wood furniture, and you've transformed a room! Here's exactly how to pull off the project, with a few pro tips to help you on your way.
Pick Your Color Palette

So you've got a color in mind — say, kelly green — but how do you know which other greens will compliment it? Just open your Sherwin-Williams ColorSnap® Visualizer app and start to explore colors. Search for a specific color name or browse by family (oranges, greens, blues, neutrals, etc.).
Once you choose a color (we started with Houseplant SW 6727), open the color details and you'll find the color strip. Choose a dark, medium, and light from the strip for your tone-on-tone project. For example, we went with Houseplant SW 6727, Pickle SW 6725, and Jardin SW 6723 from the same strip.
Prep Your Materials

What you'll need:
- 2 gallons of Sherwin-Williams Emerald® Interior Paint in Jardin SW 6723
- 1 gallon of Sherwin-Williams Emerald® Trim Paint in Pickle SW 6725
- 1 gallon of Sherwin-Williams Emerald® Trim Paint in Houseplant SW 6727
- 1 gallon of Sherwin-Williams Extreme Bond™ Primer
- 3 drop cloths
- Painter's tape
- 1 paint roller with 3 heads for different colors and primer
- 2 paint trays
- 1 small paintbrush
- 2 large paintbrushes
- 3 foam paintbrushes
- 1 sanding sponge or sand paper
- 1 mask to cover mouth and nose
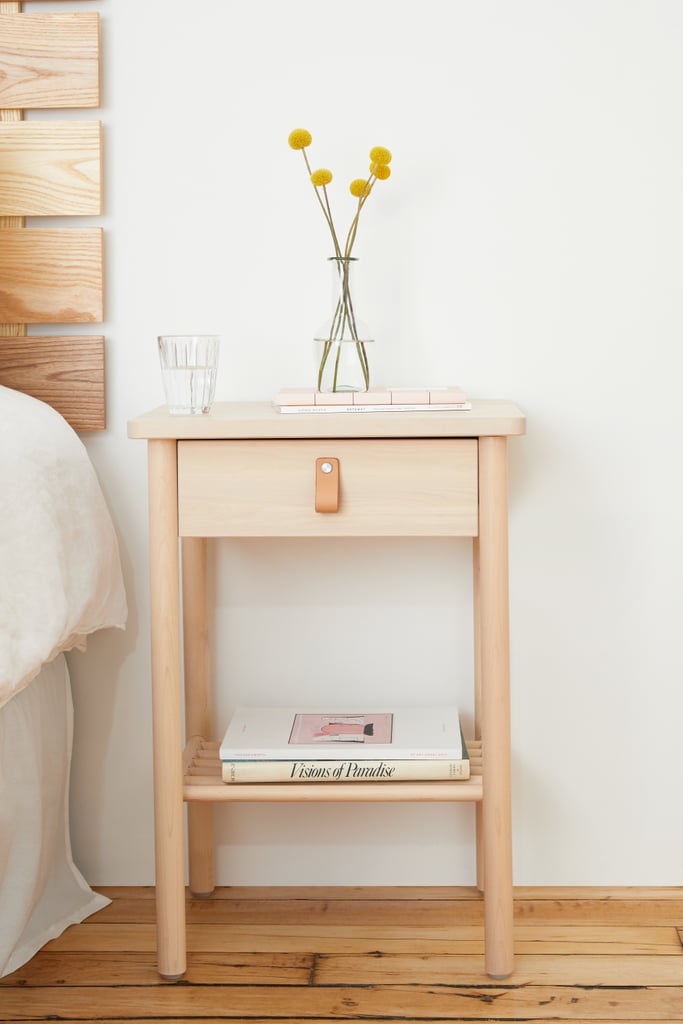
Paint Your First Piece of Furniture the Darkest Color
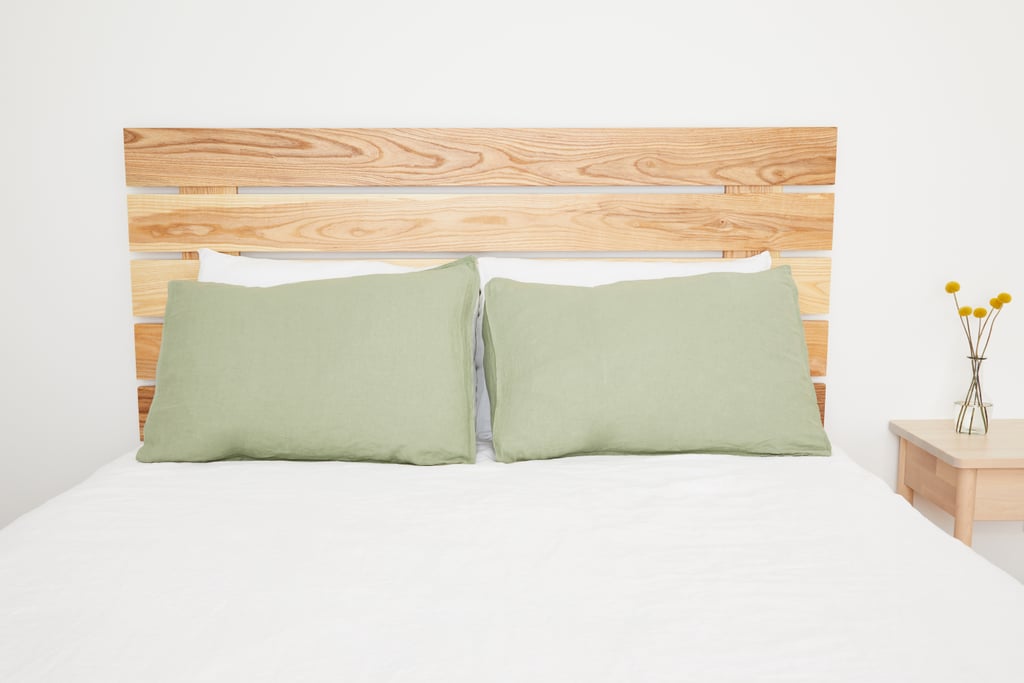
When choosing pieces of furniture to paint, it's best to buy them unfinished — basically just raw wood. Try to stay away from anything with a varnish or that's made out of a "faux" wood like particle board. Something like this wood headboard will do the trick perfectly.
Start by laying your piece of furniture on a large dropcloth. Your first step will be sanding down the entire surface with sand paper or a sanding sponge. Make sure to wear a mask that covers your nose and mouth to avoid breathing in any stray shavings. Sand until all of the wood feels smooth without any pieces that could lead to a splinter. Next, use the Sherwin-Williams Extreme Bond™ Primer to make sure you get the best finish possible. Don't forget to get in all the little nooks and crannies! Let the primer dry completely before moving on to paint.Pour out the darkest of the three colors into a tray. Use your roller to paint the larger surfaces, and a foam brush to get into all the small spaces. Let the first coat dry for about an hour before painting the second coat.Paint Your Second Piece of Furniture the Medium Color

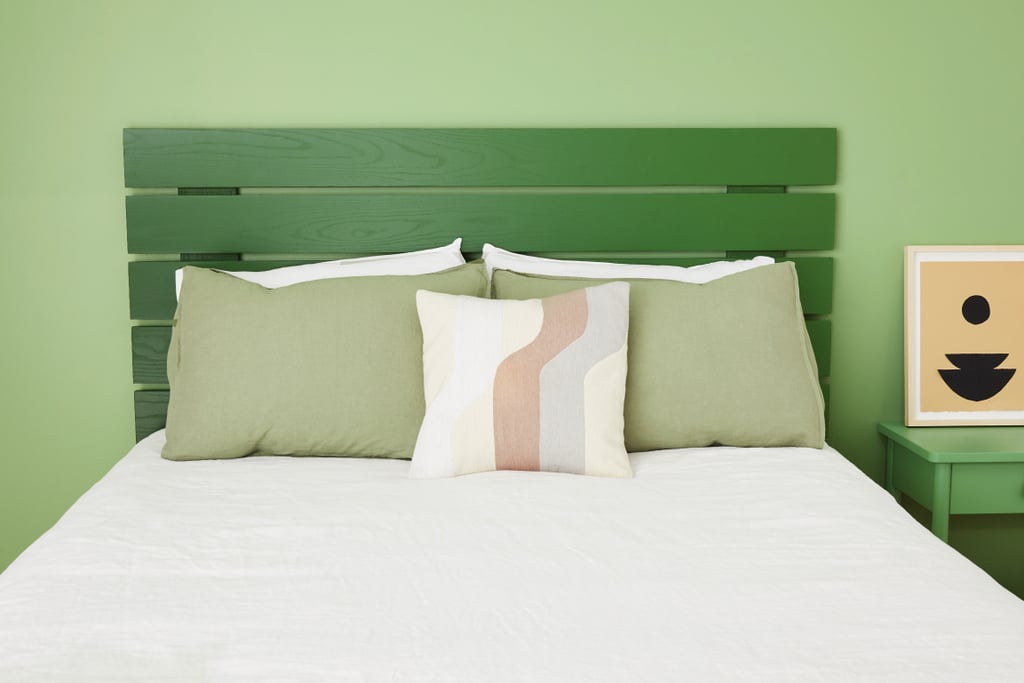
Paint the Wall the Lightest Color

We've left the lightest of the three colors for the walls so that the whole space stays bright and airy.
First things first: Tape the bottom of the wall or baseboard with the painter's tape and a drop cloth. Move the drop cloth about an inch away from the wall so that the tape will stick to both the floor and the drop cloth.Use painter's tape to edge along the seam of the ceiling and the corners of the adjoining walls. Pour your paint into a new tray and use a small paintbrush to cover the areas along the floor, ceiling, and corners. Then use a new roller head to cover the large parts of the wall.Let the wall dry for about an hour before starting on the second coat. When the paint is still tacky from the second coat, carefully pull the painter's tape off the wall.Style It Out!

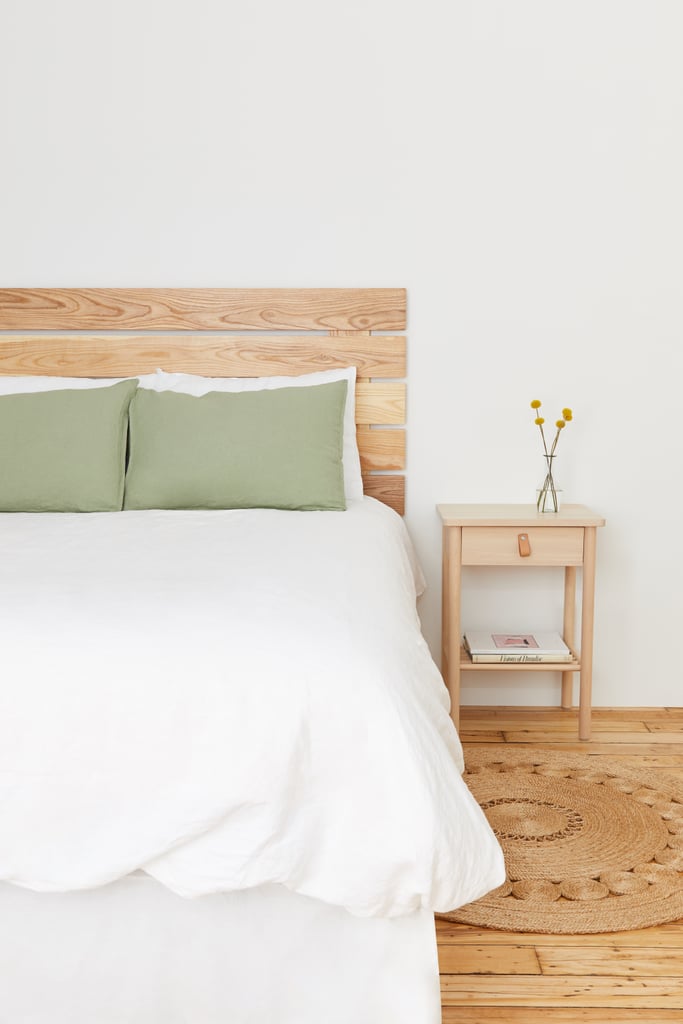
Have some fun with it! Go for the full look and have both pieces of furniture right up against the painted wall, or stagger them around the room for a more subtle pairing. If you want to really play up the monochromatic trend, pick decor pieces like pillows and throws in the same color family, or offset the color using crisp whites and deep blacks.
Credits: Photography: Matthew Kelly; Art Direction: Meg Konigsburg; Prop Styling: Aja Coon
*WARNING: Removal of old paint by sanding, scraping or other means may generate dust or fumes that contain lead. Exposure to lead dust or fumes may cause brain damage or other adverse health effects, especially in children or pregnant women. Controlling exposure to lead or other hazardous substances requires the use of proper protective equipment, such as a properly fitted respirator (NIOSH approved) and proper containment and cleanup. For more information, call the National Lead Information Center at 1-800-424-LEAD (in US) or contact your local health authority.